


If you’ve priced out a custom shower enclosure, you’ve probably been asked to decide on a line item you don’t yet have the vocabulary for: the “low-iron upgrade.” Is it worth the added cost? What does “low-iron” actually mean, and is the difference something you’ll notice every day once the glass is installed or is it a spec sheet detail only a fabricator would care about?
This guide answers that with numbers, not opinions. As we cover in our Complete Guide to Custom Glass Shower Doors & Enclosures, low-iron ultra-clear glass is the only appropriate specification for a luxury frameless enclosure where the glass is meant to disappear against the tile. Here, we go one level deeper: the physics behind the tint, how to test for it yourself before you buy, exactly where it becomes most visible in a finished installation, and a side-by-side comparison to help you decide whether the upgrade is worth it for your specific bathroom.
Standard clear glass carries a faint green tint from natural iron oxide, most visible edge-on or in thicker panels. Low-iron glass (Starphire® / Optiwhite™) removes most of that iron, reaching 91%+ light transmission vs. ~82% for standard clear the edge reads white instead of green. For frameless enclosures over 3/8″ against white tile, low-iron is the difference most homeowners actually notice.
What’s the Measurable Difference (91% vs. 82% Transmission)?
Every pane of glass is measured for spectral light transmission the percentage of visible light that passes through the glass rather than being absorbed or reflected. Standard float glass, the baseline product of the glass industry, transmits approximately 82% of visible light. The remaining 18% is absorbed by trace iron oxide compounds naturally present in the raw sand and materials used to make the glass.
Low-iron glass manufactured with a purer silica sand and sold under trade names including Starphire® and Optiwhite™ removes the vast majority of that iron content during production. The result is a spectral transmission above 91%. That nine-point gap doesn’t sound dramatic on paper, but iron oxide absorbs light unevenly across the color spectrum, absorbing more red and blue wavelengths than green. That imbalance is what produces the visible tint and it’s why the difference reads as a distinct color shift rather than simply “less bright” glass.
In a single pane viewed head-on, this is often subtle. In a full shower enclosure multiple panels, several linear feet of exposed edge, and light passing through the glass at an angle the cumulative effect becomes very easy to see.
The Edge Test: How to See the Tint Yourself Before You Buy
You don’t need a spectrophotometer to tell the two glass types apart you need to know where to look. The tint is nearly invisible when you look through a single pane face-on. It becomes obvious when you look along the edge, where light travels through the greatest thickness of glass.
- Request physical samples, not photos. Ask your fabricator for a standard clear sample and a low-iron sample of the same thickness, side by side.
- Look at the cut edge, not the face. Standard glass will show a visible green or blue-green line. Low-iron glass will appear nearly white.
- Hold both samples against a sheet of white paper or your actual tile sample. This is the single most reliable way to preview how each option will read in your bathroom’s real lighting.
- Compare in daylight and under your bathroom’s actual lighting fixtures – tint is more pronounced under cooler LED light than warm incandescent light.
Try This Before You Sign a Contract
We bring both glass samples directly to your home during our free measurement consultation evaluated in your own bathroom’s light, against your actual tile. That side-by-side comparison, in person, is far more reliable than any photo or showroom lightbox.
Where the Green Tint Is Most Visible: Corner Seams & Thick Panels
In a finished installation, the tint doesn’t distribute evenly it concentrates in a few predictable places, and knowing them helps you judge whether the upgrade matters for your specific layout.
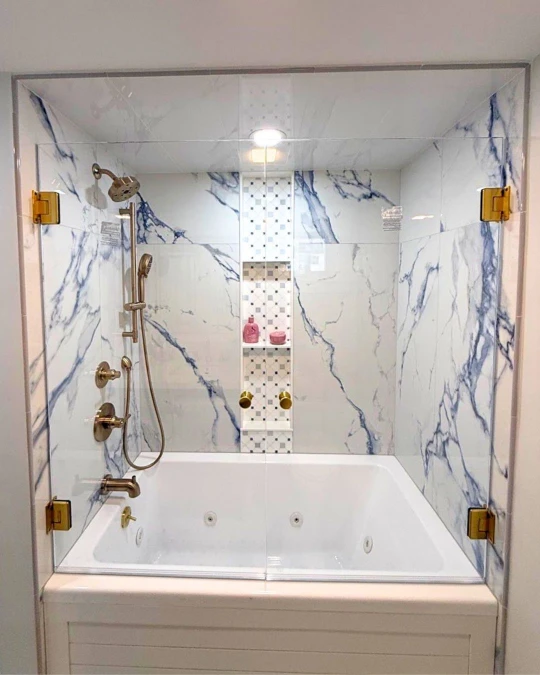
- Vertical seams in corner and neo-angle enclosures.Where two panels meet at an angle, you’re looking at two edges simultaneously. In standard glass, this reads as a visible green line running floor to ceiling against the tile.
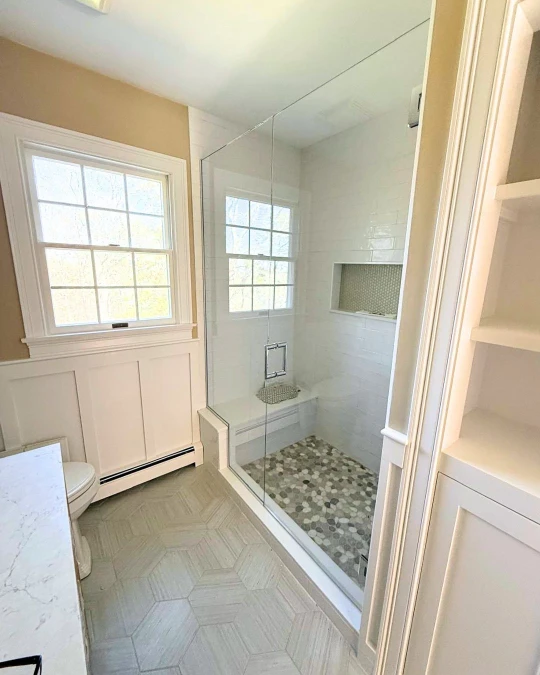
- Against white or pale stone tile. High-contrast, cool-toned surrounds make even a slight green cast noticeable. Warmer tile tones tend to camouflage it somewhat.
- Larger single panels and fixed screens. The more glass surface area in one continuous span, the more the cumulative tint reads as a color shift rather than a clear pane.
- Pivot doors and other 1/2″ configurations. As covered in our pillar guide’s hardware chapter, 1/2″ glass is the definitive marker of a luxury frameless enclosure and thicker glass is exactly where the tint becomes least deniable.
If your design uses a single small fixed panel in a partially tiled powder room, the upgrade matters less. If you’re specifying a full frameless corner enclosure or a wide fixed screen against white tile, it matters a great deal.
Does Thickness Make the Difference More Obvious?
Yes, thickness and iron content compound each other. Light travels through more glass mass in a 1/2″ panel than a 3/8″ panel, so any absorption happening at the molecular level has more material to pass through. The same iron content that’s barely perceptible in a 3/8″ panel becomes clearly visible at 1/2″.
- 3/8″ : Tint: subtle in standard clear – Most hinged & sliding doors
- 1/2″ : Tint: clearly visible in standard clear – Pivot doors, large spans
For a full breakdown of when 3/8″ is sufficient versus when 1/2″ is worth specifying, see our companion guide on Glass Thickness: Demystifying 3/8″ vs. 1/2″, referenced in Chapter 3 of the Complete Guide to Custom Glass Shower Doors. The short version for this comparison: if you’re already committing to 1/2″ glass for its weight and solidity, pairing it with standard clear undercuts the investment the tint becomes exactly as visible as the thickness you paid extra for.
Low-Iron vs. Standard: Side-by-Side Table
Here’s how the two options stack up across the factors that actually affect a shower door decision.
| Attribute | Standard Clear | Low-Iron Ultra-Clear |
|---|---|---|
| Light transmission | ~82% | 91%+ |
| Edge appearance | Green / blue-green tint | Near-white, water-clear |
| Best against white / pale tile | Tint visible in contrast | Reads as invisible |
| Best at 1/2″ thickness | Tint clearly visible | Recommended pairing |
| Best with tinted/frosted glass | Tint irrelevant, cost saving | Unnecessary upgrade |
| EnduroShield coating compatible | ✓ Yes | ✓ Yes |
| Typical cost premium | Baseline | Moderate upcharge |
Which One Should You Choose?
The right choice depends on configuration, tile, and glass treatment not a blanket rule.
- Choose low-iron – if you’re specifying a frameless enclosure at 3/8″ or 1/2″ against white or pale stone tile, using a corner or neo-angle configuration with a visible vertical seam, or investing in 1/2″ pivot doors where the glass is meant to disappear.
- Standard clear is a reasonable choice – if the glass will be frosted, sandblasted, tinted, or reeded treatments that already obscure or color the glass, making the underlying iron tint irrelevant or if the panel is small, framed, and set against warm-toned tile that camouflages the cast.
The Glass House Recommendation
For any primary bathroom remodel using frameless glass the configuration where the glass itself is the design statement we specify low-iron ultra-clear as the default, not the upgrade. The cost difference is modest relative to the total project; the visual difference, over the life of the installation, is not.