
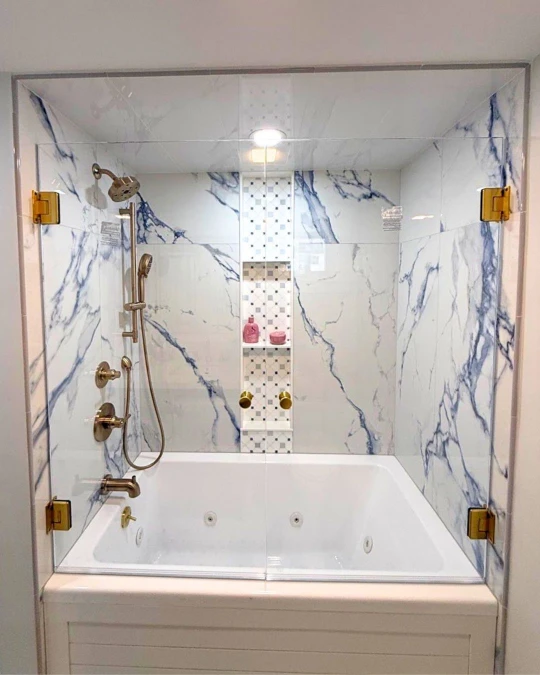

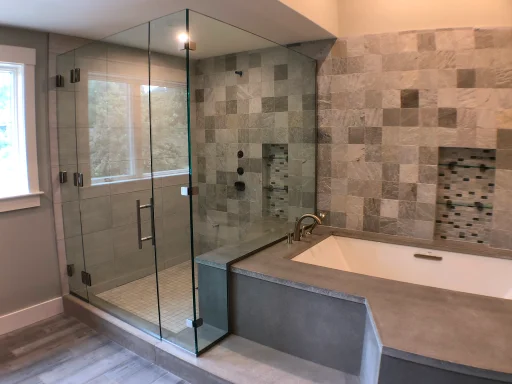
If you’re framing or tiling a bathroom that includes a frameless glass shower enclosure, one detail determines whether the installation goes smoothly or requires opening a finished wall back up: blocking. This reference is written for the framer, GC, or tile contractor handling rough-in not the homeowner reading it after the fact because by the time glass hardware shows up on site, it’s too late to add what should have gone in before drywall.
As we note in our Complete Guide to Custom Glass Shower Doors & Enclosures: “Frameless glass hardware particularly hinges carrying 80–100 lbs of 1/2″ tempered glass must be anchored into structural wall studs or solid blocking, not merely into tile and drywall… A hinge anchor that fails does not simply pull the door off the wall it causes the entire glass panel to fall.” This guide covers exactly where that load comes from, where blocking needs to go, what to tell your crew before rough-in, and what it costs to fix a job site where blocking was missed.
A single frameless shower hinge can carry 80–100 lbs of tempered glass enough that anchoring into tile and drywall alone is a safety failure, not just an aesthetic one. Blocking has to go in at rough-in, before glass is ever measured, so it’s already in place when the installer arrives.
The Load a Single Hinge Actually Carries (80–100 lbs, per Panel)
Tempered glass weighs roughly 4.9 lbs per square foot at 3/8″ and 6.5 lbs per square foot at 1/2″ and unlike a shelf, that weight isn’t distributed evenly across a wall. It’s concentrated entirely at two or three hinge points, each cantilevered off the wall at the panel’s edge. Here’s what that looks like for common panel sizes:
| Panel Size | Sq Ft | 3/8″ Weight | 1/2″ Weight |
|---|---|---|---|
| 24″ × 72″ | 12.0 | ~59 lbs | ~78 lbs |
| 30″ × 72″ | 15.0 | ~73 lbs | ~98 lbs |
| 36″ × 80″ | 20.0 | ~98 lbs | ~130 lbs |
That’s where the pillar guide’s “80–100 lbs” figure comes from it’s the realistic weight of a standard-size 1/2″ pivot or hinged panel, concentrated onto two or three anchor points rather than spread across a wall. Most panels up to roughly 72″ tall use two hinges; taller or heavier 1/2″ panels often add a third, centered hinge specifically to reduce the load carried at each individual anchor point. Either way, every anchor point in that hinge set needs to hold real, sustained weight — not just resist a moment of installation torque.
Where Blocking Needs to Go Hinges, Pivots, and Header Clamps
Different hardware types anchor differently, which means blocking placement isn’t one universal spec it depends on the configuration being installed.
| Hardware Type | Blocking Location | Typical Height Range |
|---|---|---|
| Hinges (2-hinge panel) | Behind each hinge plate | ~6″–10″ from top & bottom of panel |
| Hinges (3-hinge panel) | Add a center block | Mid-height of panel run |
| Pivot hardware | Header framing & floor-adjacent jamb | Ceiling line & threshold |
| Fixed panel wall clamps | Continuous or ladder blocking | Full stud bay at panel height |
| Header clamps (fixed panels) | Ceiling joist bay or horizontal strip | At the header framing line |
The safest default is to block generously rather than at a single isolated point. Exact hinge and clamp positions are only finalized after our laser measurement which typically happens after tile so a continuous vertical run of blocking across the anchor zone gives the installer flexibility if the final hardware position lands a few inches off an initial framing assumption.
What to Tell Your Framer/Tile Contractor Before Rough-In
Hand your framer or tile setter this list before the wall closes up:
- Use solid 2× lumber or 3/4″ plywood sheathing between studs – at the anchor heights in the table above not a single point block, but a continuous run across the likely hinge, pivot, or clamp zone.
- Block before insulation and vapor barrier go in – Blocking added after the wall is closed means cutting it back open.
- Extend the blocking zone a few inches further than seems necessary – Final hinge and clamp positions are set by our post-tile laser measurement, and a slightly generous blocking run costs almost nothing at framing but is expensive to fix later.
- Document blocking location with photos – referenced to a fixed point typically finished floor height before drywall or backer board covers it.
- Share our measurement report with your framer or tile setter – once it’s available; it documents the exact anchor points the installer will use.
What Happens on Job Sites Where Blocking Is Missing
This is the single most common structural issue we encounter on job sites and it’s almost always avoidable at essentially no added cost during framing.
❌ No Blocking in Place
Tile Comes Back Off the Wall
Without structural blocking, hardware can’t be safely anchored into tile and drywall alone. The fix means cutting into finished tile, adding blocking, and patching typically days of delay and a cost that far exceeds what blocking would have added at framing.
✓ Blocking Installed at Rough-In
Installer Anchors Same-Day
When blocking is already in place, our installer anchors directly into it during the scheduled install no rework, no delay, and no risk to finished tile or stone.
We’re occasionally asked whether toggle-bolt anchors can substitute for blocking in an existing wall. For light fixtures, yes; for a hinge carrying 80–100 lbs of tempered glass, no toggle anchors are rated for pull-out loads far below what a frameless door demands, and we don’t install frameless hardware into them.
Coordinating Blocking for Fixed-Panel Wet Room Layouts
Fixed panels in a curbless walk-in shower or wet room carry no hinge swing load, but they’re not exempt from this requirement. As we cover in our Fixed Screens & Walk-In Wet Rooms guide, a floor-to-ceiling fixed panel anchored with wall clamps or a U-channel still concentrates real weight and lateral force onto a small number of points from the panel’s own mass, a wall-mounted rain arm, or simply a hand bracing against the glass.
Because wet room layouts often use a single large panel rather than a hinged door, the blocking run tends to be longer and more continuous coordinate the full length of the panel’s wall-contact edge, not just a couple of isolated points, and flag the intended panel configuration (single return, L-shaped corner, or full-length screen) to your framer as early as possible.
Blocking is the cheapest insurance policy in a frameless glass installation and the one detail that’s nearly impossible to retrofit gracefully once tile is set. For the full picture on hardware finishes, hinge types, and anchoring standards, revisit Chapter 4 of our Complete Guide to Custom Glass Shower Doors & Enclosures.